A folder with 500 photos or video clips looks like a storage problem, but the real difficulty is attention. Every item asks a small question: keep it, compare it, revisit it, or remove it? If you jump between a file manager, an image viewer, a video player, and a notes app, you also have to remember where you were. That context switching is what makes a review feel endless.
A better method treats review as a sequence of passes. The first pass removes obvious failures. The second compares near-duplicates. The final pass checks whether the remaining set tells the story or fulfills the delivery brief. You do not need special software to use this method, although a visual file reviewer can reduce the friction between steps.
Before you start: protect the source
Do not begin a large cleanup immediately after importing irreplaceable media. First make sure the source exists in at least one other location. A backup can be another drive, a verified archive, or the original memory card kept untouched until delivery. The point is simple: review should never be the only moment when a file can survive or disappear.
- Confirm the folder is not your only copy.
- Close editors that may still be writing files into it.
- Decide what “keep” means for this session.
- Set a short session limit, such as 20 or 30 minutes.
- Use the operating system Trash or Recycle Bin instead of permanent deletion.
Step 1: choose one folder, not the whole archive
Start with the smallest directory that represents one job, shoot, date, event, or delivery. Recursive review sounds efficient because it puts everything in one list. In practice, it mixes unrelated decisions and removes the meaning supplied by folder structure.
If a project contains Day 1, Day 2, and Exports, review those levels separately. Finish the current directory before opening a child folder. This gives you a clear stopping point and makes progress measurable.
Step 2: choose a sort order that matches the task
No single sort order is always best. Choose it deliberately:
| Sort order | Use it when | Why it helps |
|---|---|---|
| Last modified, newest first | You are reviewing recent edits, downloads, or exports | The files you just touched appear first |
| Creation time | You want the original capture sequence | Burst shots and chronological takes stay near each other |
| File name | The camera or project uses meaningful numbering | Related versions remain grouped predictably |
For a working folder, “last modified, newest first” is often a strong default. For a camera import, creation time or file name may preserve the shooting sequence better. Once you start a pass, avoid changing the order unless there is a clear reason—the order itself becomes part of your mental map.
Step 3: make the first pass intentionally easy
The first pass is not for choosing the best image. It is for removing items that clearly cannot be useful. Examples include accidental captures, fully blurred images, black frames, corrupt exports, silent test recordings, and duplicate downloads with no unique edits.
Use a strict rule: if a decision takes more than five seconds, keep the file for now. Hesitation means the item belongs in a comparison pass, not that you should stare at it longer. This prevents one difficult pair from stopping the entire folder.
Step 4: compare near-duplicates as small groups
Near-duplicates are harder because each file may be acceptable. Review them in groups of two to five rather than against the entire folder. Look for one deciding property at a time:
- For portraits: expression, eye focus, gesture, then composition.
- For landscapes: sharpness, horizon, highlight detail, then atmosphere.
- For video takes: clean opening, performance, unwanted noise, then clean ending.
- For audio: intelligibility, background noise, clipping, then useful duration.
Choose the strongest candidate, then compare the runner-up only if it offers something genuinely different. Keeping five nearly identical files “just in case” moves the same decision into the future.
Step 5: use metadata to answer specific questions
Metadata is useful when it resolves uncertainty. Dimensions can reveal whether an export is full resolution. Duration can distinguish a complete recording from a test. File size may expose an unexpectedly compressed version. Modification time can identify the latest edit.
Do not turn metadata inspection into another pass over every file. Check it when the visible content alone cannot answer the question.
Step 6: finish with a set-level review
After individual decisions, zoom out conceptually. Does the remaining folder contain enough variety? Is an important scene missing? Did you keep both a horizontal and vertical option? Does a video sequence have an opening, middle, and ending?
This final pass catches the weakness of item-by-item review: the best isolated images do not always form the best collection. The goal is not merely fewer files. It is a useful set.
How to stop and resume without starting over
Stop at a natural boundary: the end of a folder, a change in capture time, or a clearly named sequence. If your tools do not preserve selection state, write down the last file name before closing. Better still, keep the same sort order and avoid renaming during review.
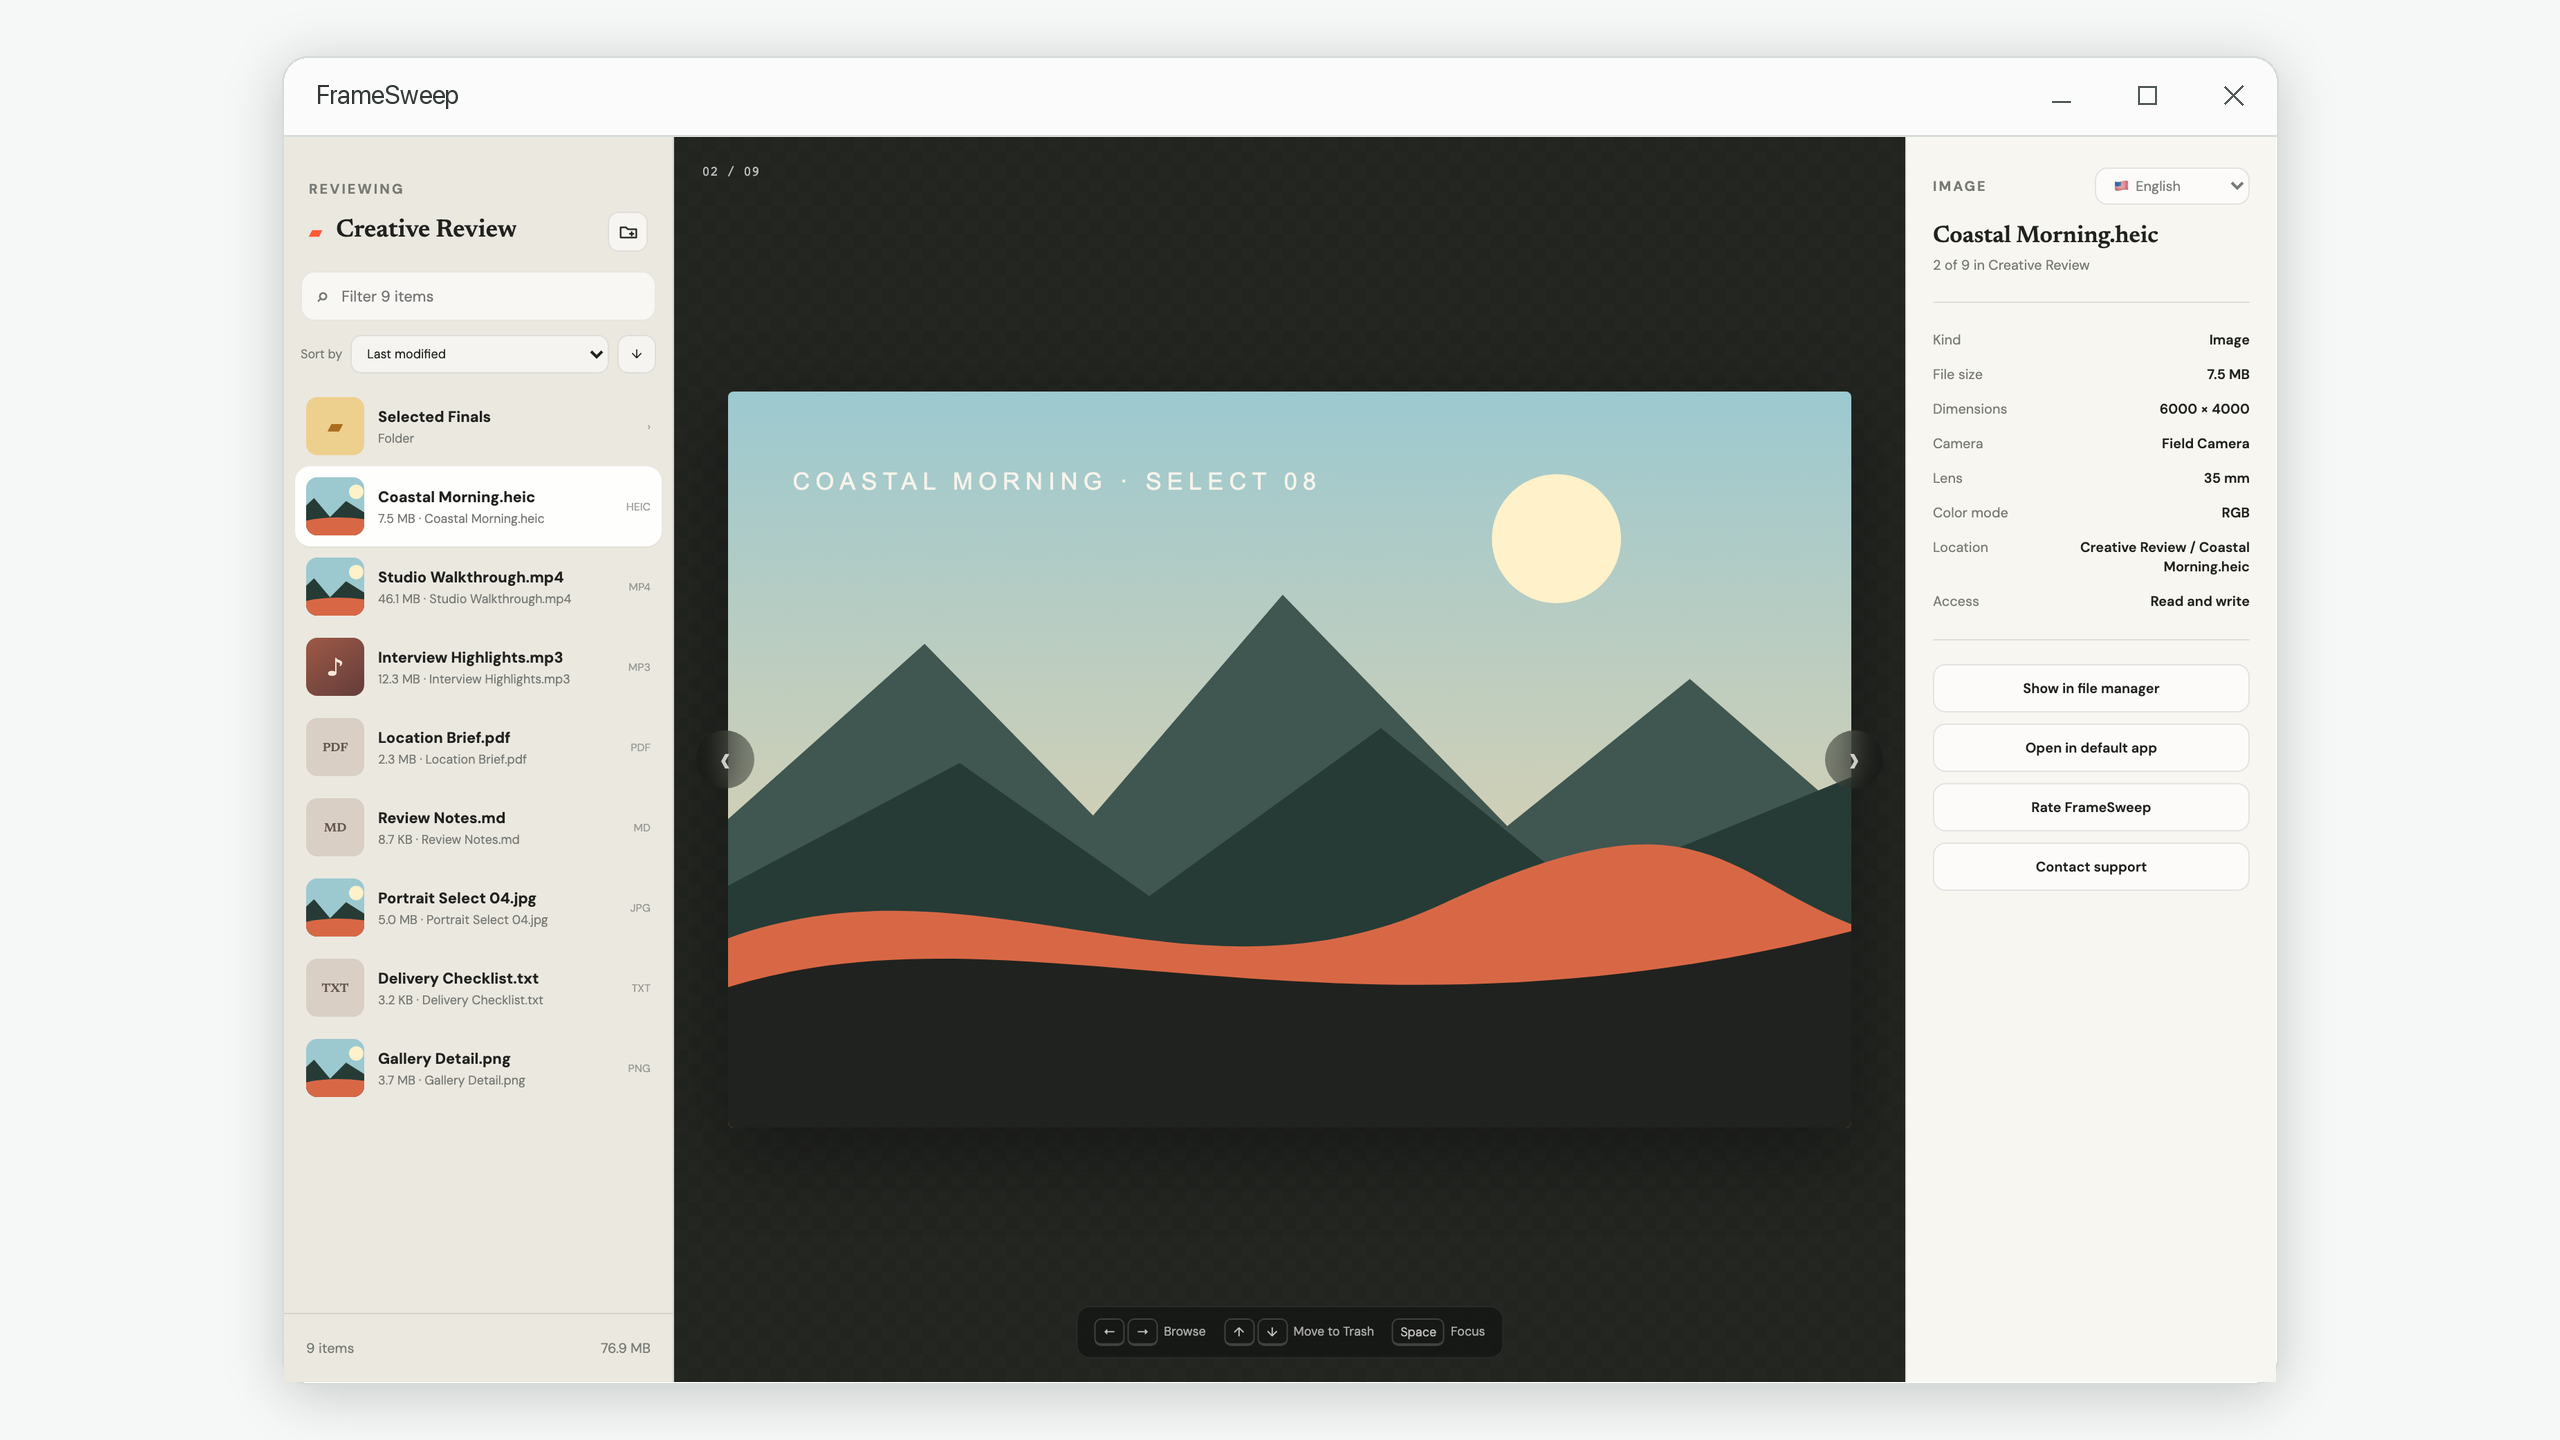
A visual reviewer such as FrameSweep keeps the current item between the neighboring list and its details, lets you move left or right through the stable order, and sends removals to the system Trash with an Undo window. The tool supports the method; the method is still useful in any file manager.
The complete large-folder review workflow
- Verify a backup.
- Choose one meaningful folder.
- Select and keep one sort order.
- Remove only obvious failures in the first pass.
- Compare near-duplicates in small groups.
- Use metadata only to resolve questions.
- Review the remaining set as a whole.
- Empty the system Trash only after the project is safely delivered.
This method works because it reduces the number of choices you make at once. Progress becomes visible, difficult decisions are postponed without being forgotten, and every session has a clear end.
Keep the list, preview, and details together
FrameSweep provides a focused local workspace for photos, videos, audio, PDFs, text, and folders—without uploading your files.
View FrameSweep on Microsoft Store